How To Plant Tulip Bulbs
To plant tulip bulbs successfully, even a beginner or pro grower can follow simple steps. Dig the right hole with proper height, place each bulb correctly, and arrange bulbs in masses or straight lines for a beautiful effect in your tulip garden.
Many tulip growers recommend adding bone meal, following planting instructions, and giving regular care with simple tips and advice.
With the right planting method, seasonal timing, and proper storing of plant bulbs, you can enjoy healthy growing flowers that bloom beautifully.
Helpful resources like a free video, detailed article, product cards, and clear specifications can help every grower build confidence without making the process complicated.
Tulip Bulb Planting Quick Guide
| Planting Factor | Details |
|---|---|
| Best Time to Plant | Fall, usually October to mid-December before the ground freezes |
| Best Location | A spot with full sun and good air circulation |
| Sunlight Requirement | 6+ hours of sunlight daily (some varieties tolerate partial shade) |
| Soil Type | Loose, fertile, well-draining soil |
| Planting Depth | About 6–8 inches deep |
| Bulb Position | Pointed end facing upward, flat side facing downward |
| Spacing Between Bulbs | Around 4–6 inches apart |
| Watering After Planting | Water thoroughly after planting, then avoid overwatering |
| Winter Care | Allow bulbs to experience cold temperatures for proper spring growth |
| Bloom Season | Spring, depending on tulip variety and climate |
How To Plant Tulip Bulbs
1. Planting Period
The ideal time to plant tulip bulbs is in fall, especially from October to mid-December, before frost and cold weather arrive. This rule of thumb helps bulbs develop strong root systems underground during winter.
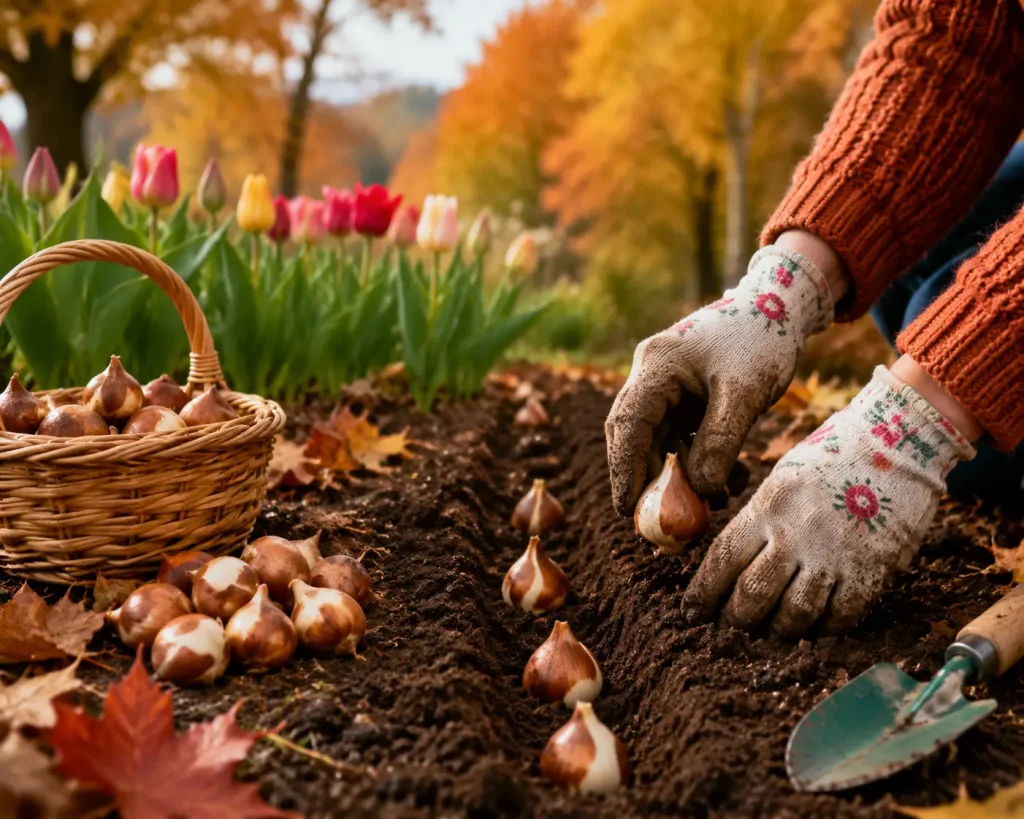
Proper planting timing allows tulips to absorb nutrients, create stronger bulbs, survive winter, and produce beautiful flowers that bloom in spring.
2. Location
When you plant tulip bulbs, choosing the right spot or location is important for healthy tulips that bloom in spring. Most tulip bulbs need full sun because they love the sun, but some special tulip varieties can grow with a bit of shade.
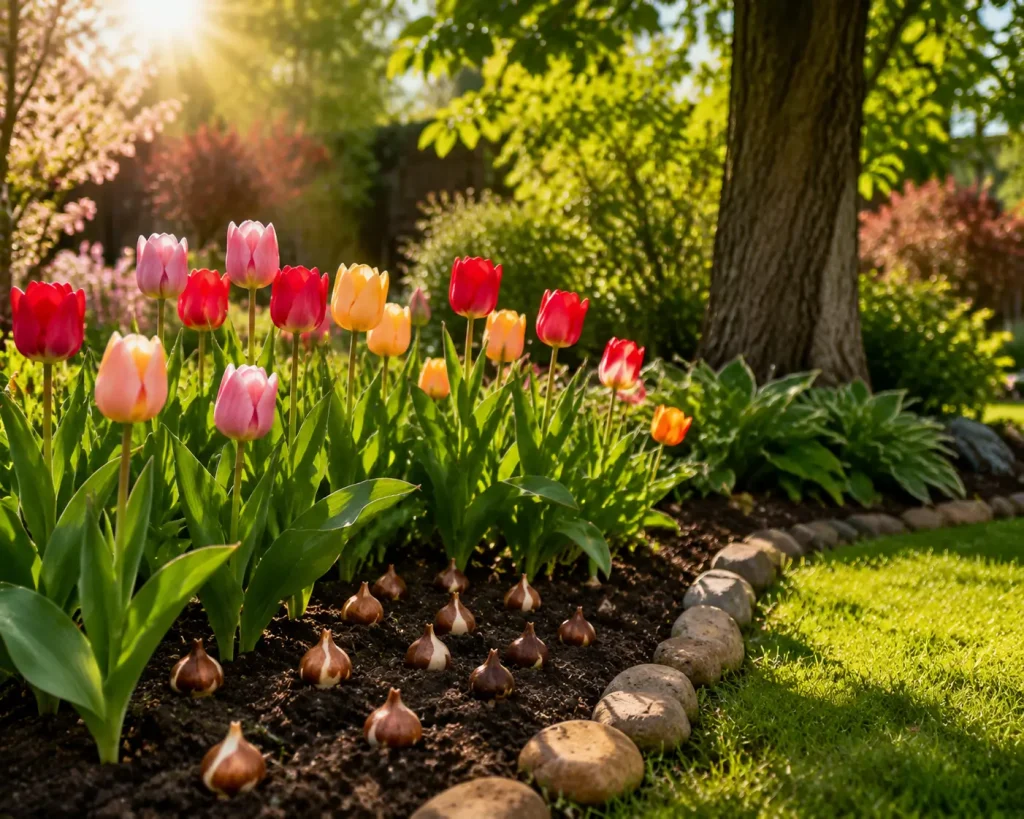
Before planting tulip bulbs, always check location and choose a specified location that meets the growing needs provided by us or shown in the product card for the best results.
Fun Fact:
A tulip bulb can survive underground through freezing temperatures and still grow into a colorful flower in spring.
3. Drainage
A healthy garden starts with the right soil when you plant tulip bulbs. Choose a spot where water can drain away easily because tulip bulbs can rot in wet soil or soggy soil. When you plant, avoid overly wet areas that can cause bulbs to freeze or damage roots.
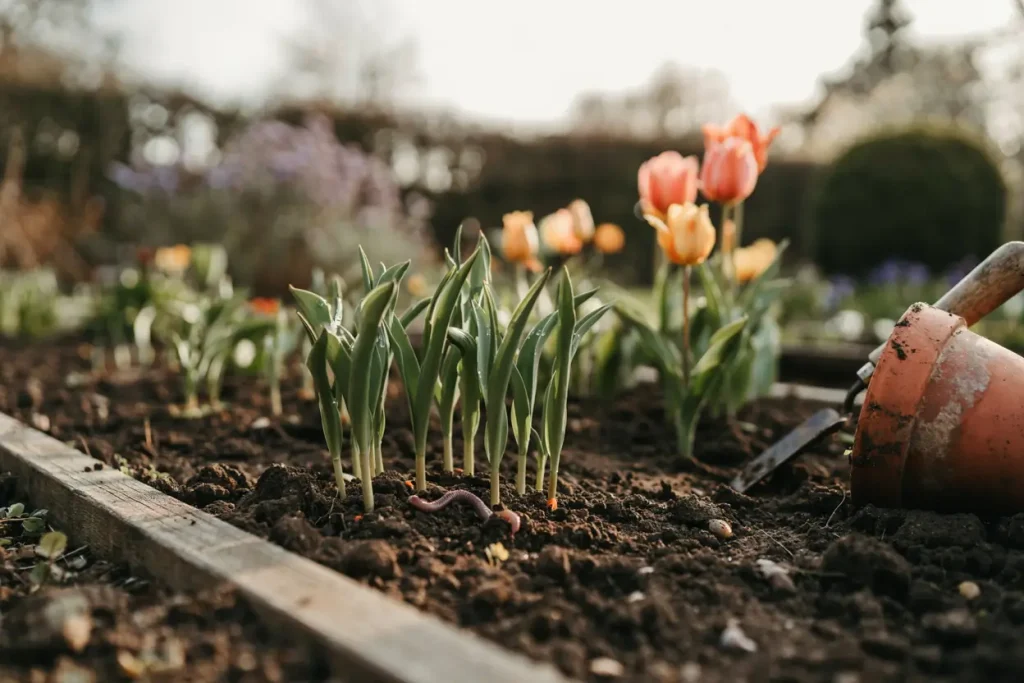
Good drainage helps bulbs stay healthy and prevents common problems by creating better growing conditions.
4. Soil Preparation
Proper soil preparation makes planting tulip bulbs much easier. Before you plant tulip bulbs, loosen the soil to create more air and give roots more air for healthy growth. Soft, well-prepared soil allows bulbs to establish roots more easily, helping the roots grow strong and support beautiful blooms.
5. Fertilization and Nutrition
When you plant tulip bulbs, proper fertilization can support healthy growth, although for many annual tulips, fertilization is not necessary. Most tulip bulbs already contain enough energy, but adding a balanced fertilizer can provide extra nutrition as bulbs grow in the ground.
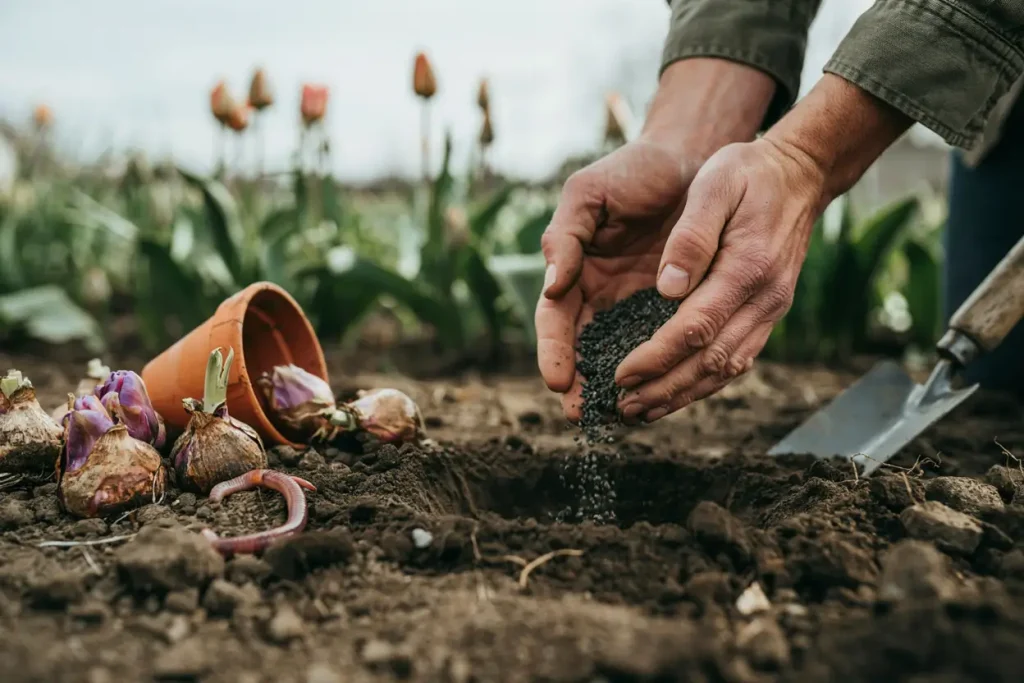
These added nutrients are absorbed nutrients that help bulbs prepare to bloom and potentially bloom again the following year. Many gardeners and nursery experts recommend light feeding only when plants need extra nutrition.
6. Planting Distance
A simple rule of thumb when you plant tulip bulbs is to keep tulip bulbs about 10 cm apart for proper spacing and healthy growth. When you plant, leaving small gaps between flowers allows each tulips plant to develop beautifully and create a magnificent spectacle of color.
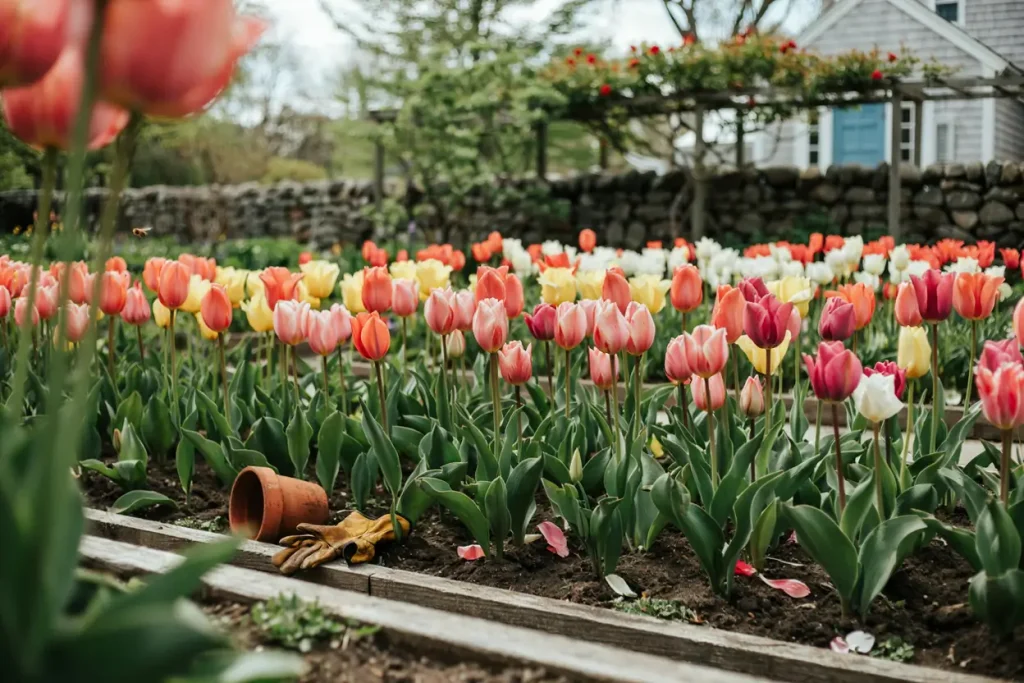
This arrangement helps transform your garden into a sea of tulips, bringing a beautiful display that feels like a warm heart welcoming the harbinger of a delightful warm summer.
7. Planting Depth
The right depth is essential when you plant tulip bulbs. A common guide is to plant tulip bulbs at around three times the height of the bulb or the bulb itself.
For example, a bulb that is 3 cm tall should be planted about 9 cm deep, which is the corresponding depth measured in centimeters. Planting at this approximately correct depth helps bulbs stay protected and grow successfully.
8. Position of the Bulb
When you plant a tulip bulb, place it with the point of the bulb and pointed side facing upwards. The flat side should sit downward, allowing the stem of the tulip to grows upwards naturally. Correct placement helps the bulb develop properly underground and supports better plant development.
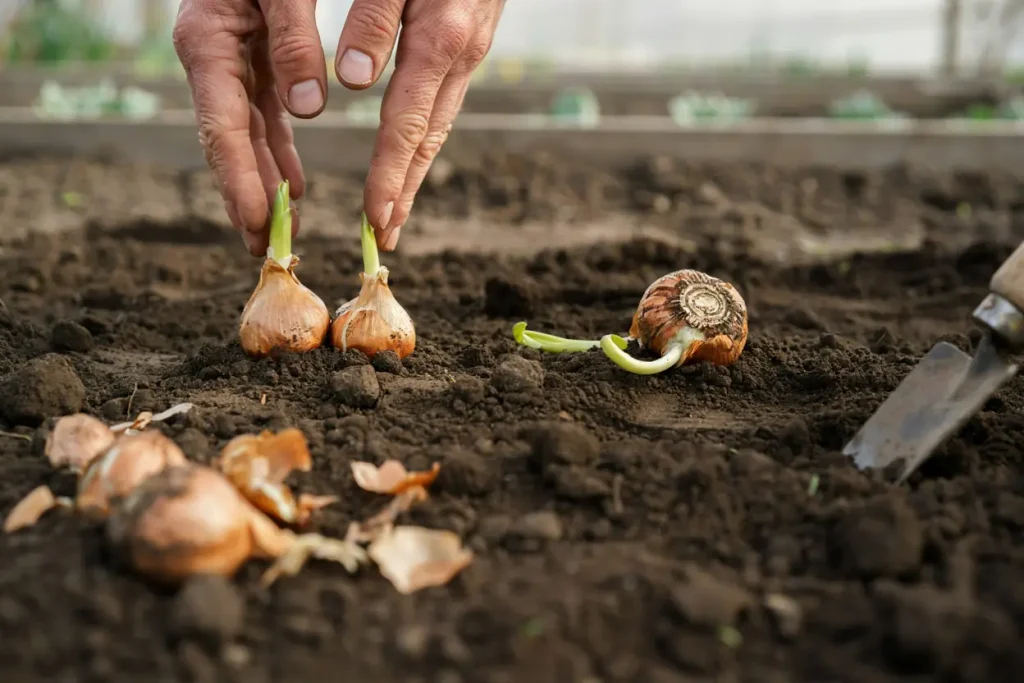
A wrong position can force the bulb to take a detour, using extra energy for growth, so avoid this scenario to encourage a healthy flower.
9. Watering
After planting tulip bulbs, proper watering helps with maintaining tulip bulbs. When you plant tulip bulbs, give them enough water to settle the soil, but avoid too much water. During long periods of dry weather, check the soil moisture and water when needed.
In normal weather, watering once a week is often enough; otherwise, let the bulbs be and allow them to grow naturally.
Did You Know?
Tulip bulbs are planted in fall because they need a cold winter period to store energy and produce beautiful spring blooms!
Timing Your Planting for Success
The right timing is a secret tip in gardening that helps tulips thrive. Fall-planted bulbs need a proper period of cold to produce strong flower buds in spring. Most bulbs require 10 to 14 weeks of cold temperatures with temperatures below 45°F before they can grow well.
I usually recommend waiting until the soil temperature has cooled down to around 60°F or lower, ideally before the first frost when the ground freezes solid.
For best results, plant bulbs based on your region. In the United States, cool climates like Zones 3-5 are ideal for planting in September to October, while moderate climates such as Zones 6-7 are better suited for October to November planting.
In warm climates like Zones 8-9, use pre-chilled bulbs and plant when the soil is cool. Cooler conditions allow the bulb to develop roots, grow leaves, and avoid problems caused by pests, diseases, or warm damp soil during the growing season.
Choosing the Right Tulips for Our Area
In the Capital Region, choosing the right tulips means selecting varieties that handle cold winters and the natural chilling period during the winter months. These spring-flowering bulbs perform best when they receive proper winter conditions and can produce their best show in spring.
Darwin hybrid tulips are reliable workhorses with big flowers and bold flowers that often come back year after year, while species tulips offer smaller tulips that are charming, spread, and can multiply naturally. I like mixing early bloomers that flower in March and April with late spring varieties that add color in May, creating a balanced display of tulip flowers throughout the season.
When to Plant
The best time to plant tulip bulbs is when the soil temperature stays below 60°F consistently. In most areas, planting tulip bulbs works well from mid-October to late October or early November. Avoid planting in warm soil because bulbs may start growing too soon before winter, leaving them vulnerable to damage. Checking the calendar and preparing the soil at the right time helps tulips develop properly and bloom beautifully in spring.
Finding the Perfect Spot in Your Yard
Choosing the right location gives tulips their happiest conditions for growth. A spot with sunshine and full sun helps create strongest stems and brightest colors, while a little afternoon shade can protect flowers in warmer areas. Good drainage is essential because wet soil and soggy soil are the tulip enemy number one.
I prefer planting in protected spots near a house or patio where flowers get protection from harsh winds. Avoid low spots where water pools after rain, and improve heavy clay soil or clay soil by adding compost and work in compost to help with drainage.
Getting Your Soil Ready and Planting Deep Enough
Good soil prep and proper soil preparation help tulips grow strong. Before you plant, improve the soil with compost or aged manure to increase drainage and provide food for bulbs. Follow the right planting depth by planting deep around three times the height of the bulb; most tulips need about 6-8 inches, while smaller bulbs like grape hyacinth need only 3-4 inches.
Maintain proper space and spacing by placing bulbs 4-6 inches apart. For a more natural appearance, create clusters, plant groups, or single rows for a full display and natural look. Deep planting also protects bulbs from temperature swings and helps stems get better support.
The Actual Planting Process
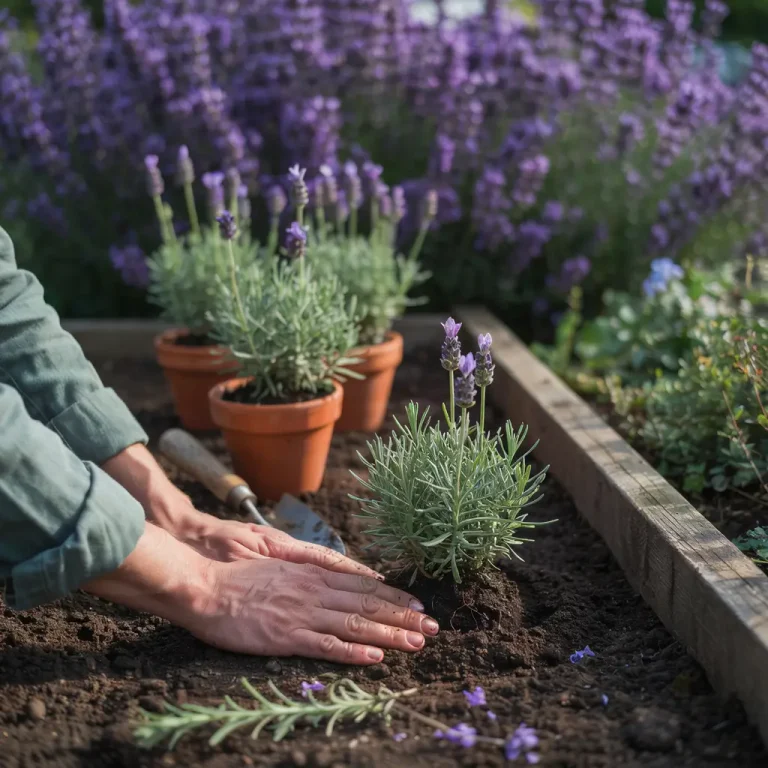
- Prepare the ground – Once the soil is ready, getting your bulbs in the ground is quick and easy.
- Use the right tools – A bulb planter can make life easier, but a regular shovel works fine too.
- Dig proper holes – Create good holes with a bottom that is flat to prevent an air pocket under the bulb.
- Position bulbs correctly – Keep the pointy end up; if you can’t tell, plant them sideways and they will figure it out.
- Fill with soil – Use regular soil because bulbs prefer a consistent environment over special mixes.
- Water after planting – Water once, give a good drink after planting, then let Mother Nature take over.
Keeping the Critters Away
To protect your tulips, outsmart hungry squirrels and other critters that see planting as a source of snacks. Cover the planted area with wire, hardware cloth, or chicken wire; it works great because plants can still grow through the protective layer.
You can also plant daffodils nearby, as animals generally leave them alone because they taste terrible to them. Remove the covers in spring once green shoots appear, then enjoy the beautiful mix of tulips and daffodils together for stunning beautiful combinations.
Taking Care of Your Tulips After They Bloom
After tulip flowers Identification and the blooming show finish, resist the urge to clean everything right away. Leave the leaves because green leaves need 6-8 weeks to feed the bulb and support next year’s flowers.
Wait to cut back and only trim the foliage when it turns yellow naturally. In spring, add bone meal or balanced fertilizer when shoots first appear, which helps plants grow strong.
I enjoy the perennial show because, unlike warmer areas where tulips may act like annuals, the Capital Region climate supports Darwin hybrids and species tulips that come back year after year.
Troubleshooting Common Issues
- Leaves but no flowers – If tulips don’t perform as expected, the cause is often simple factors like specific soil, climate, or not getting enough cold during winter. A small bulb or older bulbs that run out of energy may need to be replaced.
- Short stems – Short stems can happen after cold springs, dry springs, or in warmer climates where tulips did not get enough chilling time before started growing and bloom.
- Rotten bulbs – If you dig up a bulb and find it mushy, the soil may be too wet. Improving drainage or using raised beds is the best fix.
- Missing bulbs – When nothing comes up, a critter may have taken a snack from your bulbs during winter. Try the chicken wire method to protect future planting.
- Keep learning each season – Gardening is a learning process, and every season brings new information. Even expert gardeners face challenges, but the beauty of tulips is that each fall offers a fresh start and a new chance to create something beautiful.
Final Thoughts on Growing Tulips
Planting tulip bulbs is an act of hope and a gift to your future self, with a special kind of magic in watching tucked-away bulbs work underground during autumn to prepare a colorful surprise in spring. Whether you grow bulbs in a pot on your porch or create a massive cutting garden for bouquets, the process is simple and deeply rewarding.
Focus on the basics like planting at the right depth, ensuring good drainage, and choosing a sunny spot to set yourself up for success. While it may be tempting to save bulbs from cut flowers, using fresh bulbs and high-quality bulbs is the most reliable way to achieve your garden dreams.
The key takeaway for success with tulips is proper timing, depth, and drainage; with patience, your garden will reward you with a magnificent spring show. Explore different varieties of tulips from Longfield Gardens, keep planning your beautiful spring, and enjoy the gardening journey with quality plants and practical advice at every step.